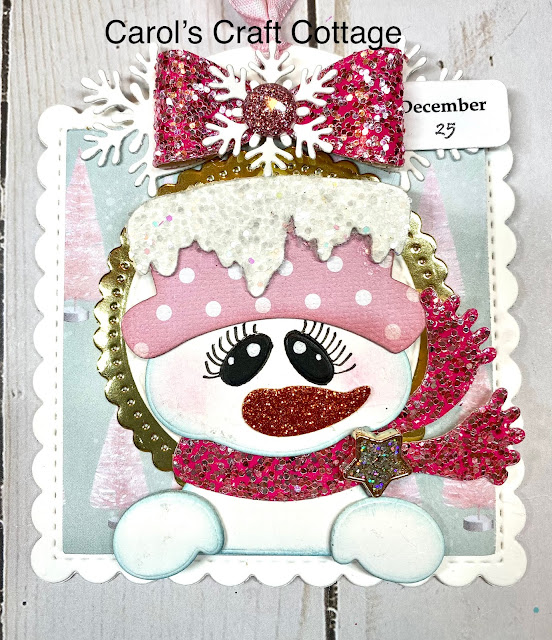
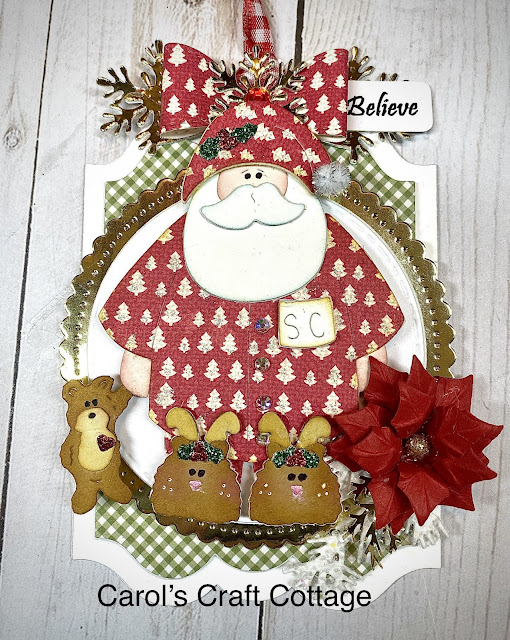
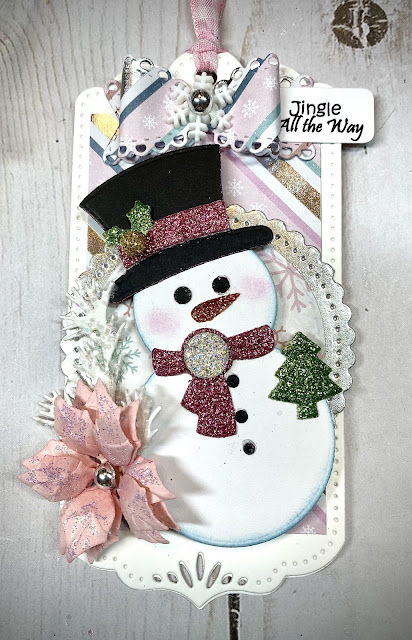
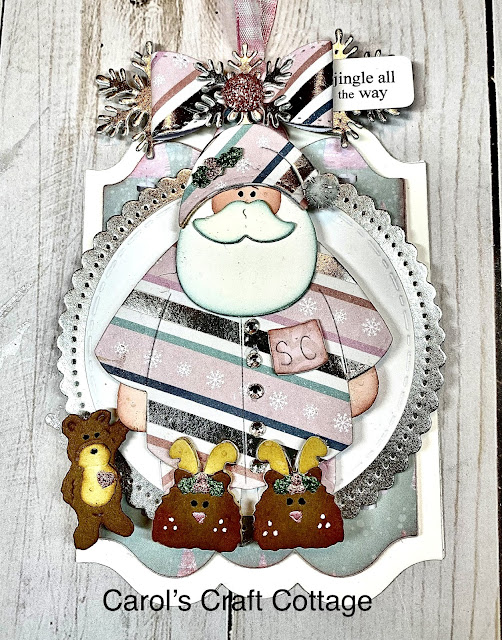
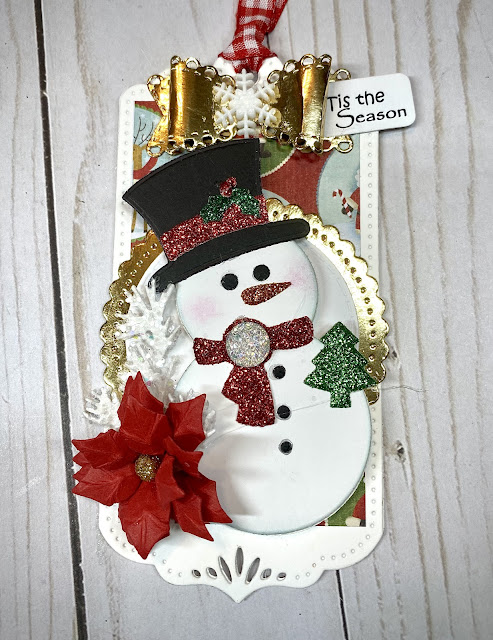
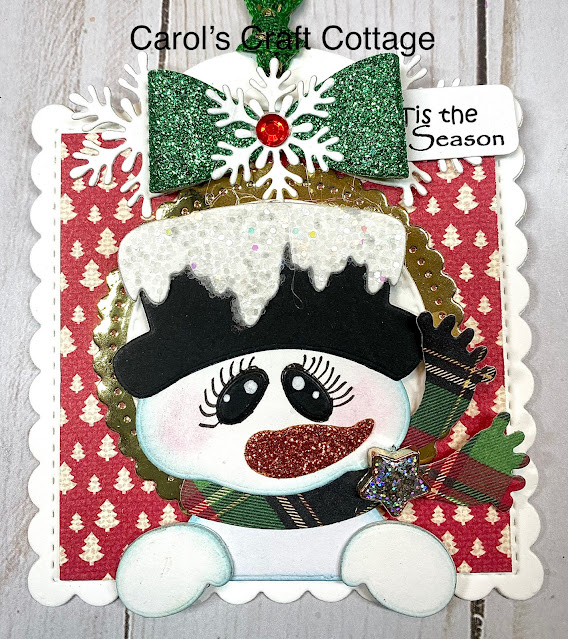
Today's share are some more fun Christmas tags. It's never too early to start thinking about Christmas Crafting!
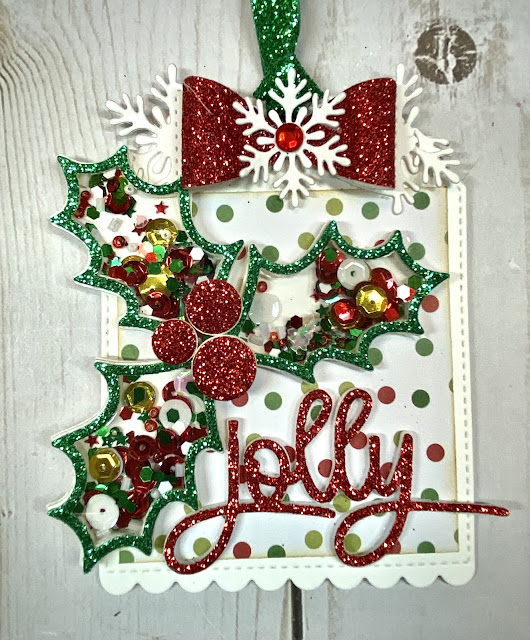
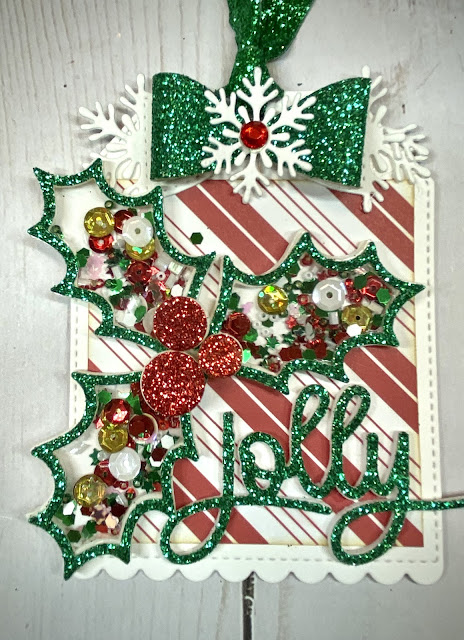
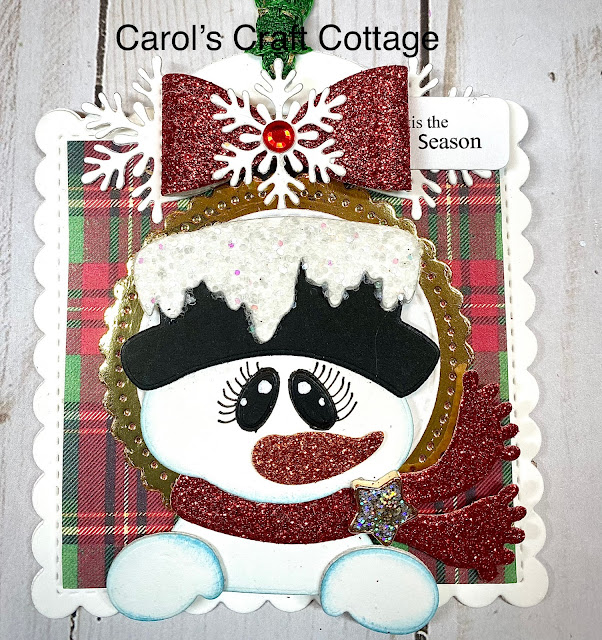
This Holly Shaker die is a fun one from Aliexpress. It was fun creating These
When creating, I always like to make three of each tag. Because I give them away, it goes faster making them.
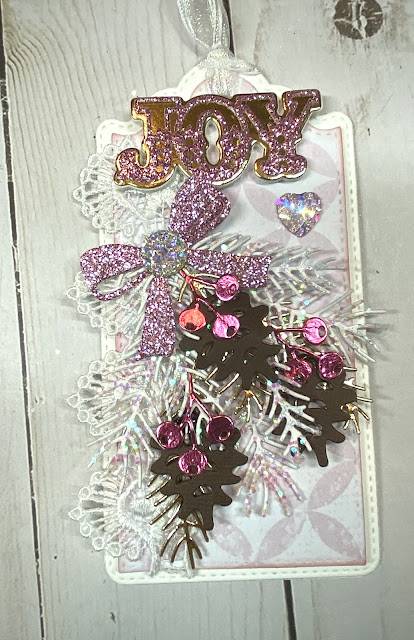
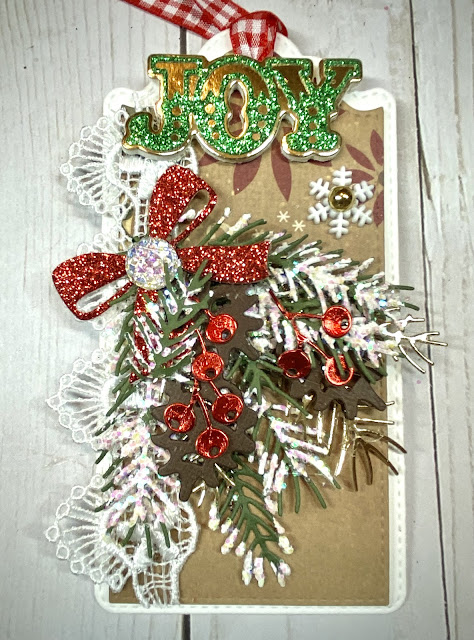
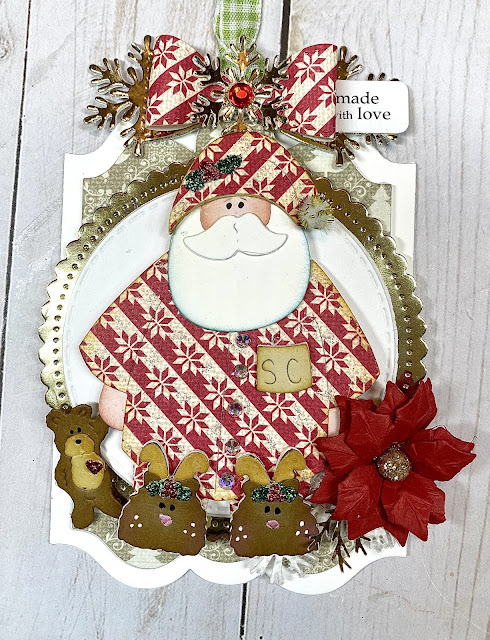
This is another fun die. Love all the pieces that come with this one. It's a nice floral assembly.
Just a little touch of lace to this one makes it look vintage.
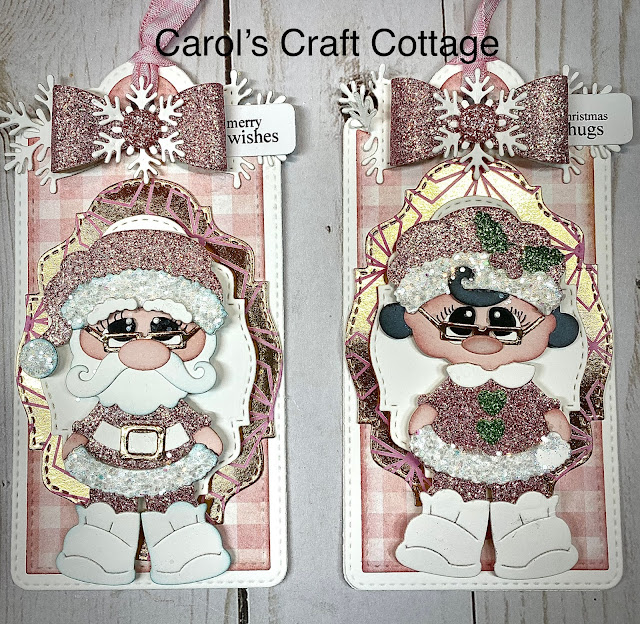
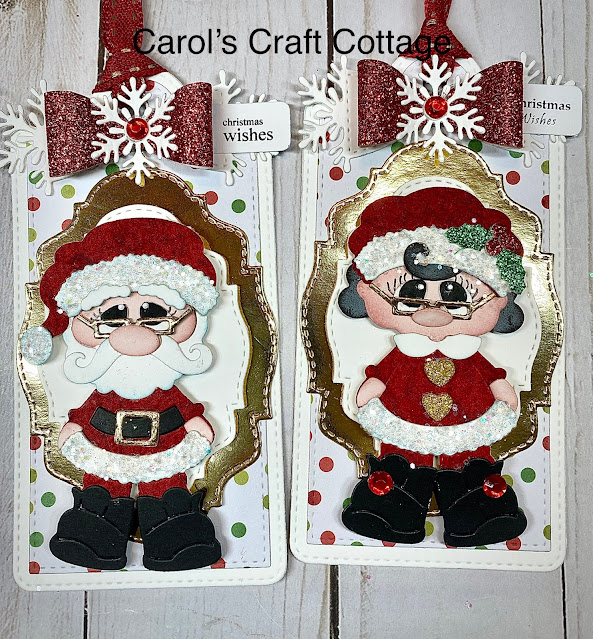
This Mr. and Mrs. Santa was an Aliexpress die. Don't you just love their glasses.
Thanks so much for stopping by today. Hope you are inspired to start some Christmas Crafting. Be sure to check back tomorrow for more projects. Happy Crafting!